|
|
This post has been edited to add lovely photos detailing my every move as I take a lump of dough and create a loaf of deliciousness.
I know I've posted a few bread recipes in the past, but this is the one I use a couple times a week. I have stopped purchasing store bought bread because this is so healthy and so easy to make. I know exactly what ingredients it contains and it's much much cheaper.
I use my bread machine to make the dough which takes an hour and a half, then I roll out the dough, let it rise and bake in a loaf pan--this is just because I prefer the texture and shape of the loaf to the bread machine loaf.
Ingredients
1-1/4 cup water
1 Tbsp butter or margarine, softened
1-1/2 cup whole wheat flour
1-1/2 cup white flour (you can change the proportions of these flours as long as they total 3 cups)
1 tsp sugar (the recipe called for 1/4 cup. yikes!)
1 tsp salt
2 tsp active yeast
Directions
Put all ingredients in bread machine in the order of the manufacturer's directions. Use the "dough" cycle. When it's finished roll out on a lightly floured surface into an 8 inch by 12-15 inch rectangle. Roll up along the length of the dough pinching after each turn. Place the log into a loaf pan that has had the bottom sprayed with non-stick spray. Use the non-stick spray on the top of the loaf to assist with browning without adding fat. Cover with a light tea towel and let rise 30 minutes or until almost double--dough should be risen a bit about the edge of the loaf pan. Bake at 425 for 20 minutes--until golden brown and hollow sounding when tapped. Allow to cool completely on a wire rack before slicing.
note: I keep my loaf in a used bread bag. I slice it as I go rather than all at once--this keeps the loaf fresh and moist.
And now, for your step-by-step viewing pleasure:1. Remove your rings and lightly flour your surface.
2. I used a nonstick baking mat as my rolling surface.
It's a bit more sanitary then the counter and much easier to clean AND it a hundred times better at keeping the dough from sticking
3. Dough from bread machine pan, prepare to become delicious.
4. Dump the dough out of the machine pan.
It's a globby mess.
You will want to flour your hands to keep from becoming a doughy mess.
5. Roll the dough around, sprinkling lightly with flour.
6. Shape the dough into a log as you're rolling it around in the flour.
7. Use your fingers to flatten the dough, release the air bubbles, and created a nice rectangle.
8. Here we have a perfect rectangle with my hand as a sizing comparison guide for your convenience. you're welcome. :)
9. Now the fun part!
Start rolling the dough towards you along the long side of the rectangle.
Pinch the seam after each rotation.
10. pinch. pinch. pinch.
11. pinch.
12. the final pinch and seal!
13. Turn the lovely roll over and drop in the loaf pan, seam side DOWN.
14. Spray with non-stick cooking spray.
15. Cover with an adorable tea towel.
I like this vintage one my mom gave me.
It's really from the 70s too! *wink*
16. hello, there, love!
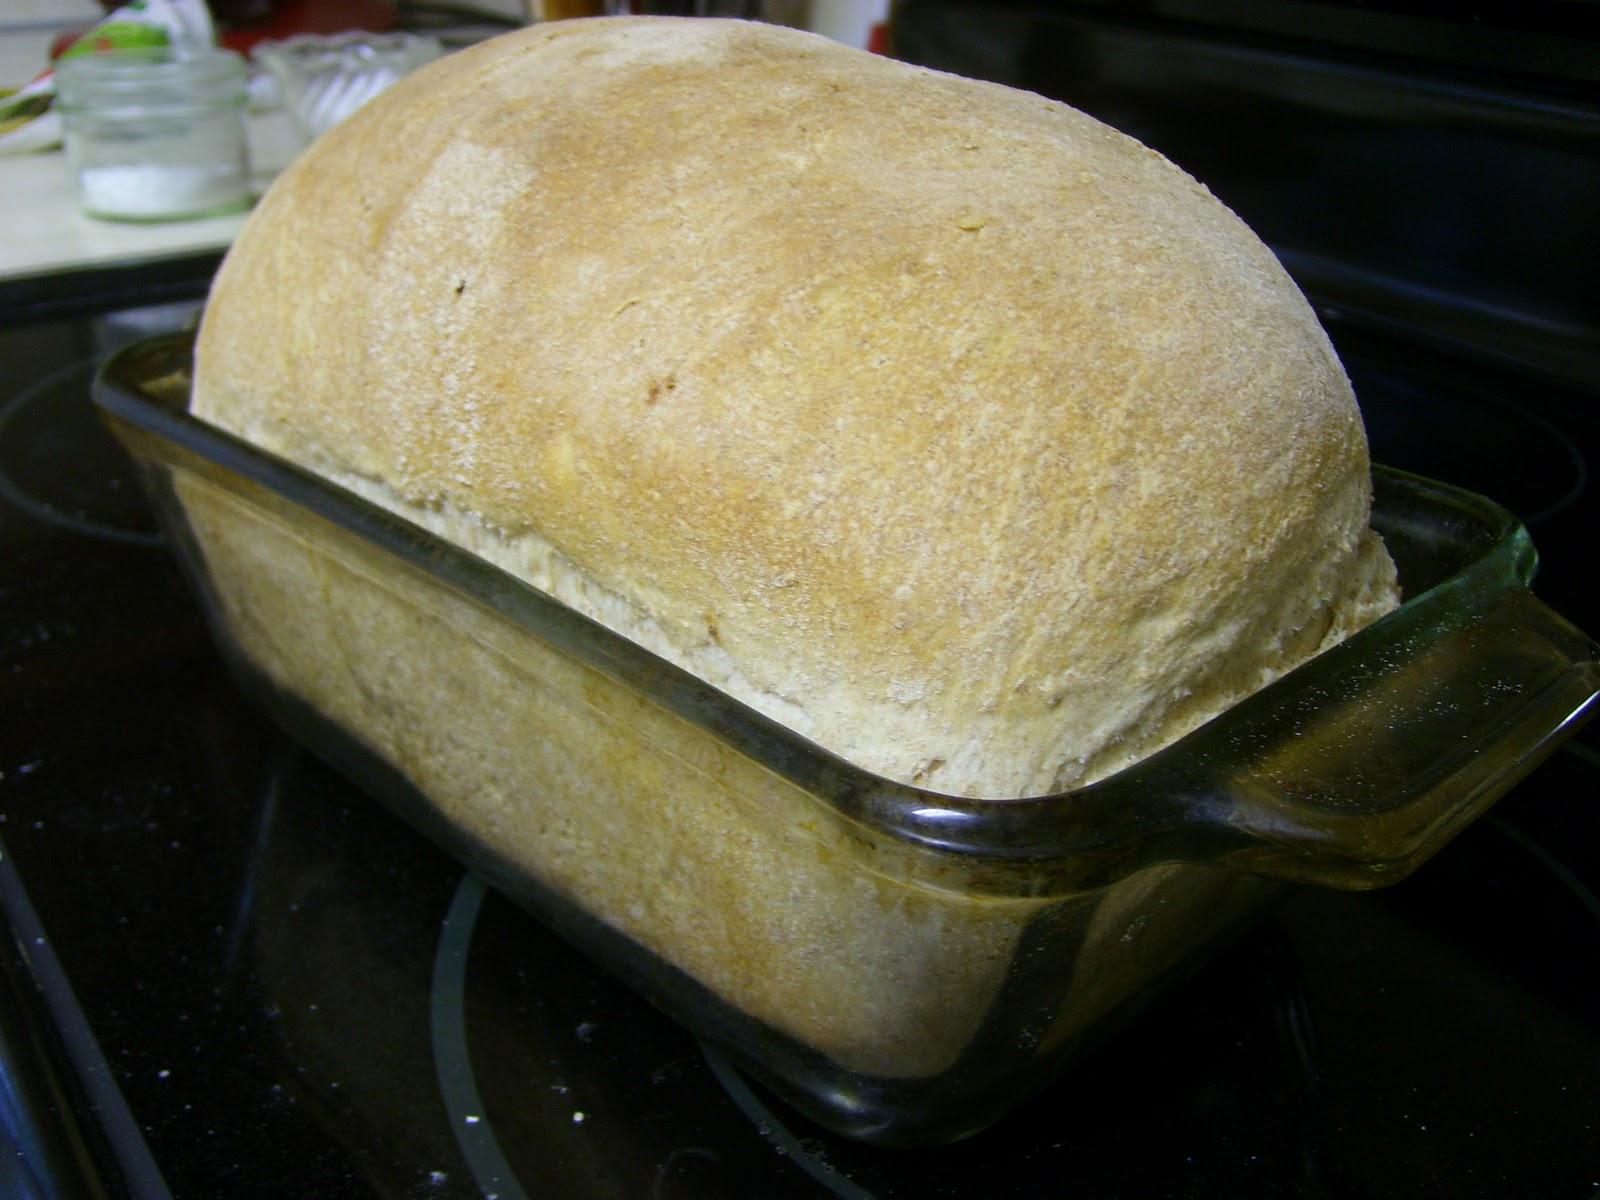
17. Here we have the loaf after 35 minutes of rising on the warming oven (set on top of oven while it's preheating)
18. Bake at 425 for 20 minutes until the loaf is golden and sounds hollow when tapped.
19. Slice as you need (not all at once) to preserve freshness!
- Follow RecipesDream


 The first time that I tried carnitas was in Chicago. There was a "super mercado" a couple of blocks from my apartment that sold them from a counter in the back of the store. Since then I have preferred carnitas over similar dishes that feature beef. Although this recipe takes a few hours to prepare, it's worth the wait. Carnitas have alot of flavor and they are inexpensive to make. For this recipe, I used a flour tortilla (heated in the microwave for 20 seconds), the carnitas, salsa, cilantro, and diced red onions. Here is how you make the carnitas:
 Mexico