Loading
Showing posts with label Thanksgiving. Show all posts

Cranberry Tip-Top Salad

Every year for Thanksgiving dinner we used to eat this cranberry salad at my grandma's house. I'm not sure where she got the recipe nor do I know why she always called it "Tip-Top". All I do know is that now I always serve it at my Thanksgiving and Christmas dinners and it will always remind me of my grandma. Oh, and it tastes great too! I love the sweet of the cream cheese and cream mixed with the tart of the cranberry. Of course, I took a good thing, and made it better, because that's how I roll. So here is my grandma's traditional Cranberry Tip Top done my way. I hope it becomes one of your holiday traditions as well.
Click here for printable recipe. 

Posted by Jen. 

The Ingredients:

2 cans cranberry jelly (not whole)
3 Tbsp orange juice (squeezed from 1/2 orange)
8 oz cream cheese, softened
1/2 c mayonnaise (NOT Miracle Whip)
1/2 c powdered sugar
zest of 1 orange
8 oz Cool Whip
chopped walnuts, optional

The Directions:
Beat together softened cream cheese, mayonnaise, and powdered sugar until smooth. Zest orange over bowl (just the orange part!). Mix well together.
Fold or stir in the Cool Whip so that it is all incorporated. (now I've got "Kids Incorporated" theme running through my head.Ha! Now, so do you! Is that showing my age?!) Moving on...
*At this point you would mix in some nuts if you are using them. My grandma always used chopped walnuts, but A. I don't like Walnuts and B. My son has a severe nut allergy, so I never use them. Your choice. I'd use maybe a 1/2 cup.

Spread mixture into a 9 x 13 pan and cover with plastic wrap. Make sure that the plastic wrap touches the creamy layer. Place into freezer for about 1 hour and make cranberry mixture.
Pour 2 cans of cranberry jelly into a bowl and squeeze the juice out of 1/2 the orange you zested. Beat until smooth and there are no cranberry jelly lumps.

Spread over the frozen cream mixture. Again cover with plastic wrap and make sure that the plastic is touching the cranberry layer. Freeze until ready to serve.


Fancy Version:
If you have a Bundt pan or other fancy looking bowl, you can make this inverted to have a beautiful salad presentation at your holiday table. Just reverse the order of doing everything. Place the cranberry mixture on the bottom of the Bundt pan and freeze. Then put the cream layer on top and again cover and freeze. When serving, place Bundt pan in bowl of hot water to loosen the frozen salad, and invert onto a plate. This way you have the cranberry on top!
Follow RecipesDream

Oreo Turkeys for Thanksgiving

Anyone who's been following along with our cooking adventures for long, knows that both me and my blogging partner, Jen love making fun food for our kids!  I had made these Oreo Turkey Treats with my kids a few years ago and these Turkey Cupcakes last year, but when I saw these cute little treats at Our Best Bites, I just couldn't resist.  Not only are they super cute, but I loved their idea of sticking little name placards on them and making them into Thanksgiving table place holders.  Don't stress about them being too fragile, I was surprised at how sturdy they were after the icing set up.   


Recipe Source:  Our Best Bites
Click here for printable recipe. 


The ingredients:


(amounts needed per turkey)

2 Double Stuff Oreo cookies (getting the double stuff variety is important, so that there's room to put the candy corn feathers)
Chocolate Frosting (I like to use the cookie icing from the baking aisle)
6 candy corns (5 for tail feathers, 1 for the beak)
1 miniature peanut butter cup
1 Whopper candy
Yellow frosting (I recommend the "writing icing" from the baking aisle)
Red frosting (I recommend the "writing icing" from the baking aisle)

Directions:
  Take one Double Stuff Oreo and squeeze in a small amount of the chocolate icing in between the 2 cookies (but without taking them apart) and about half way around the Oreo.

Gently insert 5 candy corns into the icing.  

Put some chocolate icing along the top edge of the other Oreo and "glue" it with the icing perpendicular to the Oreo with the candy corn feathers.  Set aside and allow icing to harden (5-10 minutes). 
Trim off the edge of the miniature peanut butter cup, so that there's a flat edge.

Place some chocolate icing along the cut flat edge and the back of the peanut butter cup. 
Place the peanut butter cup onto the Oreos as shown, to become the turkey body.  (I don't think it really matters which way the peanut butter cup goes.  One of my kids put it on upside down and the rest of us put them on right side up.  Either way, I thought they turned out cute.)  
Put some frosting on the back of the Whopper candy and place above the peanut butter cup, to become the turkey head. 
With the yellow icing, pipe eyeballs onto the Whopper.  Cut off the tip of the remaining candy corn and with some icing, "glue" it to the Whopper head to become the beak.
  With the red icing, pipe a wattle (the red thingy hanging from its neck). 

Sit the turkeys upright and with yellow icing, draw legs and feet onto the bottom Oreo. 

Now put them out where people can oooo and awwww over how cute they are!   

Try them with little name placards on toothpicks sticking out with the tail feathers for place settings at the Thanksgiving table.   

Enjoy! 

Don't miss a single recipe at Recipes Dream.  Sign up on the right for free email updates!
Follow RecipesDream

Easy Blueberry Cream Pie

  Every time pies are on the menu, people ask me to bring my apple pie.  As much as I love knowing I have a home run every time I make it, sometimes I get the urge to try out some different pie recipes.  That's why I'm preempting the Thanksgiving baking this year and trying out a new recipe that caught my eye on Pinterest.  This easy blueberry pie recipe was creamy with a big blueberry flavor and  the crunch of cinnamony crumb topping made it into a little piece of blue heaven on a plate.  :)   

FYI  This pie also freezes well, if you're looking to do a little advance baking for the holidays (see directions below).   


Recipe Source:  Gingerbread Bagels

Click here for printable recipe. 


The ingredients:


unbaked 9-inch pie crust
(I used this amazing recipe for the crust)
3 cups blueberries (frozen or fresh)
1 cup sugar
1/3-cup all purpose flour
2 large eggs, at room temperature
1/2 cup sour cream
1/2 tsp. vanilla extract

CRUMB TOPPING


2-1/2 Tbs. brown sugar
2 Tbs. sugar
1/2 tsp. ground cinnamon
pinch ground nutmeg
1/4 cup unsalted butter, melted
2/3 cup all purpose flour

EGG WASH
1 egg
1 Tbs. water

Directions:

Roll out the pie crust and place in 9-inch pie pan.  Crimp edges as desired, then set aside in the refrigerator while you work on the filling.  In a medium bowl,  mix together the sugar and flour. Add in the eggs, sour cream, and vanilla extract and mix until combined.

Pour the blueberries into the bottom of the crust.  NOTE:  If using frozen berries, do not allow to thaw first.   Pour the filling over the blueberries and spread evenly.  Place pie back in the fridge while you work on the crumb topping. 


FOR CRUMB TOPPING:   In a small bowl, mix together the sugar, brown sugar, ground cinnamon and ground nutmeg. Pour the melted unsalted butter into the bowl and mix everything together.  Add in the flour and mix until the ingredients form a crumble topping.
Crumble the topping evenly over the pie.

FOR EGG WASH: In a small bowl, combine egg and water.  Then gently brush over the edge of the crust.

Bake at 350 degrees for 50-55 minutes or until center is set.   Let the pie cool before cutting into slices.  Serve with a dollop of whipping cream!


NOTE:  This pie freezes well.  Just allow to cool completely, wrap in plastic, and freeze.  Thaw in refrigerator until ready to serve or if you're impatient like us, just eat it partially frozen!   

Enjoy!


Don't miss a single recipe at Recipes Dream.  Sign up for free email updates on the right. 
Follow RecipesDream

Super Moist Carrot Cake & Cream Cheese Frosting (reuploaded)


Super Moist Carrot Cake

(I'm reposting this recipe to add the new video to it)

I absolutely adore this carrot cake recipe. It's super easy and never lets me down. It's a basic carrot cake that doesn't have a lot of "stuff" packed inside of it so it is definitely a crowd-pleaser. It is soooo soft and moist (finely grated baby carrots is the trick!).

Everytime I make this cake I find myself sneaking into the kitchen and cutting little thin slices and before I know it the whole cake is gone! The cream cheese icing is creamy with just the right amount of sweetness to compliment this carrot cake.

I got this recipe from my sister Nikki. She doesn't bless us with her cooking much, but when she does it is always a hit.

Feel free to add in raisins, pineapples and coconut if you like that in your carrot cake.


Ingredients:
Carrot Cake
1 1/2 cups granulated sugar
1 cup vegetable oil
3 eggs
2 cups Gold Medal® all-purpose flour
2teaspoons ground cinnamon
1teaspoon baking soda
1teaspoon vanilla
1/2 teaspoon salt
2 1/2 to 3 cups cups finely grated baby carrots
1 cup coarsely chopped walnuts (optional)


Watch me make this super moist homemade carrot cake from start to finish!


Directions
1.)Heat oven to 350°F. Grease bottom and sides of one 13x9-inch pan or two 8-inch or 9-inch round pans with shortening; lightly flour. In large bowl, beat granulated sugar, oil and eggs with electric mixer on low speed about 30 seconds or until blended.

2.) In a seperate bowl,  add flour, cinnamon, baking soda and the salt; Whisk to combine.

3.) Add dry mixture into wet mixture a little at a time. Mix to combine.

4.) Add vanilla and stir in the carrots.

 5.) Pour into pan(s).

6.) Bake 30 to 35 minutes, or until toothpick inserted in center comes out clean. Cool rounds 10 minutes; remove from pans to cooling rack. Cool completely.

7.) Frost cake. Store in refrigerator.
Follow RecipesDream

Happy Thanksgiving!

From my family to yours....


Have a Safe, Happy, and Delicious Thanksgiving! 

******
Follow RecipesDream

Southern Pecan Pie Recipe


Southern Pecan Pie AKA Ova' Yonda Pecan Pie

Pecan pie is such a simple pie to make yet so many people seem to struggle with getting the right balance of sweetness, the perfect firm, yet soft texture and the right nut-to-filling ratio. Yep, sometimes the easiest recipes can be a pain in the ass!

This homemade pecan pie recipe (with a few personal alterations) has been in our family for as long as I can remember. It's a trusty old standby that hasn't let me down yet. When newbies to the family taste it for the first time it gets a lot of "now that's a pecan pie!" remarks. This recipe gets passed around a lot during the holidays and somewhere got the name "Ova Yonda Pecan Pie".  I've tried other pecan pies and this one continues to be my favorite. Easy, pure comfort.

What I love about this pecan pie recipe is that it starts with a flavorful, homemade crust that goes so well with pecan pies. The filling sets to perfection with a sweetly balanced caramel vanilla flavor. The toasted pecans are crunchy (none of those chewy pecans here!) It's just a simple, well-balanced pecan pie.

Watch me make this fabulous southern pecan pie from start to finish


Preheat oven to 350 degrees
INGREDIENT
1 pie crust shell (click here for my pie crust recipe)
1/2 cup of light corn syrup
1/2 cup dark corn syrup
1/2 cup white sugar
1/2 cup dark brown sugar
1/8 teaspoon salt
1 teaspoon Mexican vanilla blend
1 Tablespoon  flour
1/4 cup butter, melted
3 eggs
1- 1 1/2 cups chopped pecans, toasted

Note* How to toast pecans for pecan pie: Spray a cookie sheet generously with cooking spray. Spread the pecans into a single layer. Bake in a preheated 350 degree oven for about 5 minutes or  just until you are able to smell the pecans aroma. Be careful not the burn them. Yuck!

Note*The pie will be slightly jiggly when removed from the oven. I usually cook for 45 minutes and the filling is soft and set when completely cooled.  Let the pie set before cutting.  I don't cut the pie until it's completely cooled and set. (personal preference)

Note*You can also mix the pecans in the batter. When putting them on the top like I do, the pie may puff up while baking.  It will fall and settle as it cools so don't be alarmed.

Note*If the crust starts to get too brown, you can cover the edges of the crust with foil. I never do this when I'm using the recipe for the homemade pie crust listed above.

Note*Oh yeah, you can also use whole pecans if you'd like. I can't use them because for some reason they remind me of bugs and makes my skin crawl (don't ask. I told you I was weird) And it's easier to cut!

Here is the Mexican vanilla blend extract I used. I got it from Wal-mart and I LOVE this stuff!!!


Follow RecipesDream

Thanksgiving Cooking Tips

How To Survive Thanksgiving Cooking

Is it me or are these holidays just coming and going at the speed of lightening??? Geez Thanksgiving will be here in a few weeks! Well you know what they say, the older you get the faster time flies.  Wow....that was kind of depressing huh?  Anyway, I'm rambling. Let's talk THANKSGIVING!!

For some people the mere thought of having to cook a Thanksgiving meal causes their stomachs to do all kinda strange things and for others it's like a kid at Christmas time. I'm somewhere in between. I've only cooked a full Thanksgiving meal a couple of times. It's not as hard as it may seems but it does require work, proper planning and a glass of wine.

Here are a few tips to make prepping that Thanksgiving meal as stress-free as possible!


Leave your tips for minimizing the stress on Thanksgiving cooking below!
Follow RecipesDream

Sweet Potato Casserole Recipe


Southern Sweet Potato Casserole

My husband got me into eating sweet potato casserole. He was constantly bragging about how good his moms sweet potato casserole was. Finally Thanksgiving rolled around and I couldn't wait to taste this gem of a dish and better yet, get that recipe!! (Yall know I'm such a recipe whore!)

Her recipe didn't dissapoint! It was creamy, sweet with a bangin, crunchy topping and you better believe I got around to adding it to my collection!  When I decided to do a blog on sweet potato casserole I immediately whipped out this recipe with the intentions of following it to the T! Then I remembered  how freaking delicious my grandmothers whipped sweet potatoes were *light bulb moment*

Hmmm....I wonder what would happen if I combined my grandmothers recipe, with my mother-in-laws recipe???? I'll tell you what happens, pure sweet potato casserole bliss!!!!

Here's why I ADORE this recipe so much
1.) It has the perfect balance of sweetness.
2.) The spices in this recipe enhances the natural flavors of the sweet potatoes, making them down-right addictive.
3.) The sweet potatoes are sooooo creamy, fluffy and light. Baking the fresh sweet potatoes is a must! Don't you dare go for the can or boiling water!!!
4.) The topping. Mercy, the topping. Crunchy, sweet...step aside marshmallows you don't stand a chance up against this topping.

I have to eat this stuff slow to make it last longer or not I'll convince myself that I need "just a lil bit more" and before I know it, I've cleared off another row in the pan all by myself. Did I mention I'm normally not a big sweet potato eater??

Note* If you prefer a more caramelized crust try baking in a smaller pan or adding more butter.


Watch me make this Sweet Potato Casserole from start to finish!
INGREDIENTS:
3 medium sweet potatoes (about 3 cups of mashed sweet potatoes)
1/2 cup of half-n-half
1/4-1/2 cup white sugar
1/4-1/2 cup light brown sugar
1-2 teaspoon of cinnamon
few pinches of ground cloves
few pinches of ground ginger
few pinches of ground nutmeg (optional)
1-2 teaspoons of vanilla extract
1-2 Tablespoons all-purpose flour
1/2 cup butter, melted
2 eggs, beaten

TOPPING
1/2 cup all-purpose flour
1 cup of chopped pecans
1 cup light brown sugar, packed
few dashes of cinnamon
5 Tablespoon butter melted


INSTRUCTIONS:

Preheat oven to 400 degrees
  1. Punch a few holes in the sweet potatoes with a fork.
  2. Bake for 1 hour or until fork-tender.
  3. Remove from oven and let cool. Turn the oven down to 350 degrees.
  4. Slice the sweet potatoes and use a spoon to scrape the tender insides into a large bowl.
  5. Mash the potatoes up with a potato masher to break up and large pieces.
  6. Add in the half-n-half
  7. Mix the sweet potato mixture thoroughly until creamy. 
  8. Add in the brown sugar and white sugar
  9. Add in the cinnamon, cloves, ginger & nutmeg
  10. Add in the melted butter.
  11. Add in the flour to thicken if needed. Mix well.
  12. Taste the mixture to make sure it taste good and sweet (but not to sweet since we still have that yummy sweet topping to add to it.  Add in more spices to suit your taste buds if needed.)
  13. Add in the eggs and mix well.
  14. Spoon the mixture evenly into a 9X9 inch pan. Set aside.
  15. In medium bowl, add in all of the topping ingredients. Stir until crumbly.
  16. Spoon  the topping mixture evenly on top of the sweet potato mixture.
  17. Bake in 350 degree oven for 30 minutes.

Follow RecipesDream

A Canadian Thanksgiving in London...


I take Thanksgiving pretty seriously. It's my favourite holiday of the year and the one time you can be guaranteed I'll be cooking a big meal for friends. Even in a country where people have no idea about Thanksgiving, let alone that Canadians celebrate this a whole month or so earlier than the neighbours to the south, I've kept up the tradition, having a big dinner on the Sunday (as we don't get Mondays off on this side of the pond).


This year, after many years of huge dinners (for which I've cooked everything) for up to twenty people, I went low-key. We had a just a handful of close friends and I focussed on relaxing a bit more. The menu was simple, standard: Brie baked with maple syrup and almonds, pumpkin gnocchi with sage butter, sage and chanterelle stuffing, roast veg, a roast bird for the meat eaters, and maple pumpkin pie. Here are the recipes for some of my favourites.


Sage and Chanterelle Stuffing
1/4 cup chopped rehydrated (or fresh) chanterelles, liquid reserved
1 cup field mushrooms, finely diced
1 carrot, finely diced
1 celery stalk, finely diced
1 onion, finely diced
2 cloves garlic, minced
1/2 loaf of brown bread, cubed
1 cup vegetable stock
a handful of sage leaves, shredded
salt and pepper

1. Warm a few glugs of olive oil in a casserole dish (I use my oven proof Le Creuset) and saute your onion, celery, and carrot. Once the onions are translucent, toss in your garlic and mushrooms, and continue to cook until the mushrooms have cooked down in size. Stir in your chanterelles and sage, and deglaze the pan with the mushroom water. Season well.
2. Add in your cubed bread and mix well. Pour over your vegetable stock and continue to mix until all the bread is moist, season to taste, and then bake at 375 degrees F for 40 minutes.


Pumpkin and Potato Gnocchi (gluten-free)
150 grams cooked pumpkin, mashed well
150 grams boiled potato, mashed well
150 grams gluten-free flour blend (mine is rice, tapioca, and buckwheat)
1 egg
1 tbsp. butter, softened
salt and pepper

Combine your ingredients to get a smooth dough. Divide into 8 pieces, and roll each out into a long tube, about 1 inch in width. Cut off 1/2 inch pieces and gently roll these into small gnocchi. Repeat until done, then mark each piece with the tines of a fork. Refrigerate before cooking. Cook for 1-2 minutes in boiling salted water - they are done when they float. Best served with sage-laced brown butter and parmesan.
Follow RecipesDream

Southern Baked Macaroni and Cheese Recipe

(it looks A LOT better in person. I promise I'm going to learn how to work my camera this week.)

Southern Soul Food Baked Macaroni and Cheese

Ok...now yall know finding a good southern soul food style baked macaroni and cheese recipe is like finding gold. No, better it's like coming across an authentic Louis Vuitton bag on ioffer.com...almost damn near impossible right? People tend to keep a tight grasp on their prized macaroni & cheese recipe so discovering a good, tried & true one can be hard.

Well imagine my shock when my sister sashayed in on Thanksgiving and casually placed this beautiful baked macaroni & cheese on the table. I could have sworn I had all of my family members baked mac n cheese recipes. What was this impostor all about! The proof was in the taste. I had one  (ok three) plates of this macaroni and cheese and was on her heels like ash in the winter time trying to get this recipe.

My husband took a bite and said "ohhhhh you need to take your mac n cheese recipe off your blog and put this one up. This one is waaay better than yours!" THANKS A LOT MATT...You'll pay for that comment dearly! lol (don't think I forgot)

Yall this baked macaroni is FULL OF SOUL!! That is the first thing that came to mind when I took that first bite. It's a true southern style macaroni & cheese. Cheesey, flavorful, easy and the star player is that SMOKED CHEDDAR! Good God I couldn't stop eating this stuff.

So big sis....I will bow down gracefully to you and say that you make THE BEST Baked MAC N CHEESE EVER! (but that doesn't mean I'm going to remove mine from this site lol)

I have printed out this recipe, took a photo of it, laminated it and put it in my recipe album. Not many recipes get to make it to the album. She's a keeper!

I'm sure that if you give it a try it will end up going into your recipe collection as well.


Watch me make this macaroni and cheese from start to finish!
Ignore the intro pic on the title page of this video, it's the one from my other mac and cheese recipe (also on my blog) so don't get confused.


Ingredients (make a 9 x 9 inch pan)
3 cups macaroni, uncooked
2 eggs
1/2 cup heavy cream
1 1/2 cups milk
salt & pepper
paprika (optional)
1 cup smoked cheddar cheese, shredded (a must)
8 oz. velvetta, shredded (feel free to cut back on the velvetta if you don't want it to be really creamy)
1 cup sharp cheddar (can use less if you don't like a sharp taste in your mac n cheese)
1 cup colby & monteray jack, shredded (cheese blend)

Preheat oven to 350

Step 1.) Cook macaroni until al dente. (Look on the back of the box to see how long you need to cook your pasta for it to reach al dente texture. Do not overcook or you will have a mushy baked mac n cheese.) When pasta is done, drain and set aside.

Step 2.) In a large bowl, add milk, heavy cream & cheeses (except for the smoked cheddar). Stir to combine.

Step 3.) Taste the milk mixture and add salt & pepper until it has a good taste. This will help avoid having a plain, bland bake macaroni & cheese. Uggh!

Step 4.) When you are content with the taste, add in the eggs. Stir well until combined.

Step 5.) Butter a 9 x 9 inch baking dish, and pour macaroni in.

Step 6.) Pour cheese mixture over macaroni & top with smoked cheddar cheese. Sprinkle with paprika and/or black pepper, if desired.

Step 7.) Bake for 35-45 minutes. Do not overbake. It may be a bit jiggly when you take it out of the oven. It will firm up as it cool.

Step 8.) Let cool for about 10-20 minutes to fully set.


Follow RecipesDream

Pumpkin Bread Pudding with Caramel Sauce

Need something warm and comforting for a cold autumn night?  This Pumpkin Bread Pudding is just the thing!  I'm normally not a huge fan of either pumpkin pie or bread pudding, but this was absolutely delicious.  I loved the smooth texture and elegant presentation and the decadent caramel topping made it just out of this world!  This is definitely going on  my favorite list!

This picture does not do this dish justice.  I am in serious need of a photography light box now that my natural light is gone so early!

 Click here for printable recipe. 

The ingredients:

Bread Pudding
2 cups half and half
1 (15-oz.) can pure pumpkin
1 cup (packed) plus 2 tablespoons dark brown sugar
2 large eggs
1-1/2 tsp. pumpkin pie spice
1-1/2 tsp. ground cinnamon
1-1/2 tsp. vanilla extract
1/2 cup golden raisins
10 cups (1/2-inch) cubes egg bread (about 10-ounces) (I used challah bread from the bakery, but my friend just uses an oat nut variety from the grocery section and swears it works great)

Caramel Sauce
1-1/4 cups (packed) dark brown sugar
1/2 cup unsalted butter
1/2 cup whipping cream
Powdered sugar (for sprinkling)

For bread pudding: 
Preheat oven to 350°.  Whisk half and half, pumpkin, dark brown sugar, eggs, pumpkin pie spice, cinnamon, and vanilla extract in large bowl to blend.  Fold in bread cubes.  Stir in golden raisins.  Transfer mixture to 11x7-inch glass baking dish.  Let stand 15 minutes before baking.  Bake about 40 minutes, or until toothpick inserted in center comes out clean. 

For caramel sauce:  While bread pudding is baking, whisk brown sugar and butter in heavy medium saucepan over medium heat until butter melts.  Whisk in cream and stir until sugar dissolves and sauce is smooth, about 3 minutes. 

Sift powdered sugar over bread pudding.  Serve warm with caramel sauce. 

Enjoy!
Follow RecipesDream

How To Cook A Turkey ~Herb Roasted Whole Turkey Recipe With Buttermilk Brine Recipe ~ Moist & Flavorful!!!


Easy, Moist Herb Roasted Turkey w/ Buttermilk Brine

When I tell people that I brine my whole Thanksgiving turkey in buttermilk I usually get a questionable look. Using a buttermilk brine to add moisture and flavor is normally reserved for small cuts of poultry since it can be rather on the expensive side.

BUT IT'S FREAKIN THANKSGIVING!!! IT'S TIME TO BRING YOUR A-GAME!!  During the holidays is the only time I use a buttermilk brine on my whole chickens and turkeys. It takes the moisture &  flavor to a whole new level!! And I know that I will NEVER have any leftover turkey to deal with.  By the end of the evening that poor turkey looks like a pack of  vultures got ahold to it. It is picked cleaned!

I love this recipe because it is so quick & easy. The simple blend of butter, olive oil, poultry spices, rosemary, praprika and cajun spice works fabulous with this turkey. It add succulent flavor without overpowering  it.  And that chicken stock basting crisps up the beautiful and adds that punch of flavor ....PERFECTION I TELL YA!!

Whenever I make turkey any other way during the holidays I get "oh... you used a new recipe." in other words "I would have stayed home if I knew you wasn't going to make that Buttermilk brined Herb Roasted Turkey!"

Happy Thanksgiving!!!!!


View my video to watch me prepare this brine & cook this turkey from start to finish & for  some really cool turkey tips!


Ingredients (Enough for a 10 lb turkey. Double the recipe if needed)

BRINE
1 gallon of buttermilk
8 Tablesppon of Kosher salt
8 Tablespoons sugar
3 teaspoons of cumin
3 Tablespoons of peppercorns
6-8 fresh, chopped garlic cloves
1 large white onion, chopped

Butter Rub #1
1 stick of butter, softened
1 Tablespoon olive oil
1 Tablespoon of Poultry Seasoning
1 teaspoon Cajun Seasoning


Dry Rub #2
1 Tablespoon Poultry Seasoning
1 teaspoon cajun seasoning


Final Butter Rub #3
1/2 stick of butter
1 Tablespoon of rosemary
1 Tablespoon  Italian seasoning
1/2 teaspoon of paprika (can more if desired)


2 cups of chicken broth (to pour in roasting pan)


Let's Brine This Bad Boy!

Step 1.)  Remove gibblet, neck, & gravy packets from inside of turkey. Place in the refrigerator or discard. Thoroughly wash your completely thawed turkey in cold water & set aside
Step 2.) In a large bowl  add buttermilk, salt, sugar & cummin.  Whisk until sugar & salt is dissolved.
Step 3.) Stir  in the remaining ingredients.
Step 4.) Place turkey in brining bag (I used a regular roasting bag) & place it into a roaster pan or a large bucket or pot.
Step 5.) Pour the brine mixture into the bag. Gather the top of the bag tighty so that there is no air in the bag and the brine covers the turkey entirely. Tie the bag.
Step 6.) Place into the refrigerator for 8 to 24 hours. The longer the better!
Step 7.)  When done brining wash  the turkey thoroughly with cold water.

Your Turkey is now BRINED TO PERFECTION!

Now Let's Prepare The Turkey For Roasting
Preheat oven to 325

Step 1.) Place  turkey on a wrack over the sink. (I just take out an oven rack & place it over the sink. It's a lot easier to work over the sink on a rack) Place your brined & washed  turkey on the rack & pat dry.
Step 2.) Make Butter Rub #1 by creaming the butter in a bowl. Add in  poultry seasoning,  cajun seasoning, &  olive oil. Mix until combined. Set aside.
Step 3.)Make Dry Rub #2 by adding  Poultry seasoning,  &  cajun spice into a bowl. Set aside
Step 4.) Using half of the butter mixture spread it under the skin and inside the cavity. Do not spread any on the top skin.
Step 5.) Bring a pot of water to boil.
Step 6.) Using a measuring cup, scoop out cup fulls of the boiling hot water and pour it over the skin of the bird. (try not to get it in the cavity.) The skin will instantly contract around the bird. This will help seal in the juices as the turkey cooks.
Step 7.) Next lather on the remaining butter mixture on top of the skin & sprinkle on the Dry Rub.
Step 8.) Stuff the turkeys cavity with a whole apple & orange. Do not cut the apple and orange up unless you need to.
Step 9.) Pour chicken broth into the bottom of a roasting pan,
Step 10.)  Place turkey (breast side down ) on the rack in a roasting pan. And cook according to weight. Basting every 30-45 minutes.

Halfway through roasting, turn turkey breast side up.

Step 11.)When turkey has about 3-4 minutes left, make up Butter Rub #3 by combing all ingredients together. Remove turkey from oven and brush on Butter rub #3. Return it to the oven and broil for 3-4 minutes. This will crisp up the skin. Watch it carefully though as it browns very quickly.
Step 12.) Remove from oven and let sit for atleast 15 minutes before carving. This allows the meat to relax and the juices to settle deeper into the meat. Remove & discard the apple and orange.

Enjoy!!!!


Tips to a Perfect Turkey!
* Be sure to brine for atleast 8 hours, up to 24 hours. The longer the better!
* Cook Your turkey according to weight & use a thermometer to check for doneness. Your turkey will come with a cooking chart.
* DON'T OVERCOOK! You can have the best tirkey recipe in the world but if you overcook it you might as well call it a wrap! There is nothing worst than a dry bird in my opinion.  Don't be scared to check your birds temperature often.
*If you aren't using stuffing to stuff you bird, go with an apple and orange. These are the BEST fruits to use to provide maximum moisture
*Baste often, atleast every 30 minutes.


For more tips, advice, & calculations on how long to cook your turkey according to weight and all that other good stuff click here to go to butterball.com. I LOVE LOVE LOVE this site when it comes to calculating, thawing, planning portion sizes and everything else to do with turkey. LOVE IT!


Follow RecipesDream

Homemade Yeast Rolls Recipe ~Grandma's Easy, Quick Dinner Rolls~


Grandma's Homemade Yeast Rolls

I will be the first to tell you that when it comes to making yeast breads from scratch...I kinda like...suck! I guess I don't have that delicate, patient bread-makers touch. (I'm learning though) That is why I LOVE this yeast roll recipe.

It is so easy, quick and pretty much error proof. It doesn't need any tiresome kneading, none of that rolling pin madness or super long rising time. You don't even need to break out the bread machine. My kinda recipe!!

This is the homemade yeast roll recipe that my grandmother uses to make rolls for Sunday dinners and special holidays. They are light, soft and has the perfect mild flavor to compliment any type of meal.  As soon as these lovelies come out of her oven on Thanksgiving it is the first thing that gets attacked.

So if you are homemade yeast roll challenged like myself, but LOVE the taste of fresh made dinner rolls then give this recipe a try!!

Here's how to make homemade yeast rolls! Watch me make these yeast rolls from start to finish!


Ingredients

3 1/4 cups all purpose flour
1 packet of dry active yeast (rapid rise) (please see bottom note if you are using the highly active yeast)
1 1/4 cups milk
1/4- 1/2 cup sugar 
1/4 cup of butter flavored shortening (Butter flavored shortening makes these rolls taste sooo good. If you use regular shortening the flavor will be really basic and taste like...well...bread.)
1 egg
1 teaspoon salt

Preheat oven to 400 degrees

Step 1.) In a large bowl, add 1 1/4 cup flour & yeast. Mix with whisk until combined. Set Aside

Step 2.) In a saucepan, over medium heat, add milk, sugar and shortening.  Stir constantly until shortening has melted. Do not boil.  (check on the back of your yeast package to see how hot this liquid needs to be. It's usually between 115-130 degrees F. USE A COOKING THERMOMETER IF NEEDED )

Step 3.) Pour milk mixture into flour mixture. 

Step 4.) Add in the egg

Step 5.) Beat on low speed for 1 minute and then on high speed for three minutes. (this will help get them light and fluffy)

Step 6.) Next, add in the salt and the rest of the flour (2 cups)

Step 7.) Use your hands or a rubber spatula to mix in the flour until a soft ball of dough forms.

Step 8.) Grease a bowl with vegetable oil and place the ball of dough into it. Cover and refrigerate for atleast  2 hours. 

Step 9.) Remove from refrigerator & punch down the dough with your fist to release the air.

Step 10.) Spread a thin layer of melted butter in the bottom of a 9 X 13 pan. 

Step 11.) Take a chuck of dough and form it into your desired shape. (Dip the dough in butter or brush on the butter. ) and place it into the pan.

Step 12.) Next cover the pan with a thin kitchen towel and let sit in a warm place for atleast 1-1 1/2 hours. (wait to bake them until you are ready to serve your meal so they will be piping hot! They don't mind hanging out)

Step 13.)  Bake for 10-14 minutes or until golden. Keep an eye on them after 10 minutes. When they come out of the oven brush them with butter. I like to use a light mixture of honey & butter. Yummy!


NOTE* If you using Rapid Rise "Highly active" yeast  skip the refrigeration step and let the dough rise in a covered bowl for 10 -15 minutes in a warm place. Proceed with the rest of the recipe. Highly active yeast replaces the first rise.

Serve piping hot! Enjoy!

*Quick Yeast Making Tips*
1.) Make sure your yeast is fresh and quick acting (we don't want to be waiting around forever) Expired yeast or improperly stored yeast will suck majorly! Store yeast in the refrigerator.
2.) Make sure the liquid is warm enough. If it's too hot it will kill the yeast once it's added in. If it's too cold it won't react with the yeast which will result in crappy, crumbly, flat rolls. 105 - 115 degrees F. is perfect temperature but your yeast package may suggest 120-130 F. Just think of a nice cup of soothing hot chocolate (not too hot to sip, but not cold either) 
3.) If you alter the ingredients then your rolls may have a different texture and taste. I wouldn't suggest trying to replace the shortening with oil and so forth.


Follow RecipesDream

The BEST Red Velvet Cake Recipe ~Easy, Homemade, Moist with Southern Flair~


The BEST Homemade Red Velvet Cake

OK OK I'VE HEARD YOU! YOU WANT A GOOD RED VELVET CAKE RECIPE AND YOU WANT IT NOW!!!! (Yeah I've got your emails lol. I love you guys!)

I have been on the search for the best homemade red velvet cake recipe for a while now. I wanted one that was easy,  super moist, melt-in-your mouth soft with that signature light chocolaty red velvet taste.

I've tried a few recipes that were...OK.  Nothing that really blew my stilettos off though. Until I played around with merging three recipes (God I love Chemistry) and out came THE MASTERPIECE!!!

This red velvet cake recipe is SUPERB!!!! And look it passes the stick to the back of the fork test like a champ!


 Of course I had to make this a down home southern red velvet cake and put my G.R.I.T (girl raised in the south) stamp on it by adding in some good ol hot coffee. It takes this cake to the next level!! (don't worry you can't taste the coffee) It just kicks up that red velvet taste.

The cream cheese frosting that goes with this red velvet cake is....how can I say this.... THE BOMB!!! It's silky smooth, light, and sweet but not so sweet that it overpowers the cake like some cream cheese frosting tend to do, you know what I'm saying?

I hope that you guys enjoy this cake as much as I do. Lord knows I didn't want to make this cake...but I have to give my spoiled readers what they demand.....and now I have all this cake.... that I have to eat all by myself.....*sigh* oh well....life is tough like that sometimes.


Ingredients

2 cups all purpose flour
1 teaspoon of baking soda
1 teaspoon of baking powder
1 teaspoon of salt
2 Tablespoon of unsweetened, cocoa powder
2 cups sugar
1 cup vegetable oil
2 eggs
1 cup buttermilk
1 teaspoon of white distilled vinegar
2 teaspoon of  vanilla
2-3 oz. red food coloring
1/2 cup of prepared plain hot coffee (I used Folgers vanilla biscotti coffee but any plain hot coffee will do) Don't skip this ingredient, even if you have to run to Mickey D's to get a cup of coffee! It's worth it!

Frosting

1 (8 oz) package of cream cheese, softened
2 Tablespoons of milk
4 Tablespoons of butter, softened
1 teaspoons of vanilla
2 cups of powdered sugar

Preheat oven 325 (yes that tempt. is correct)

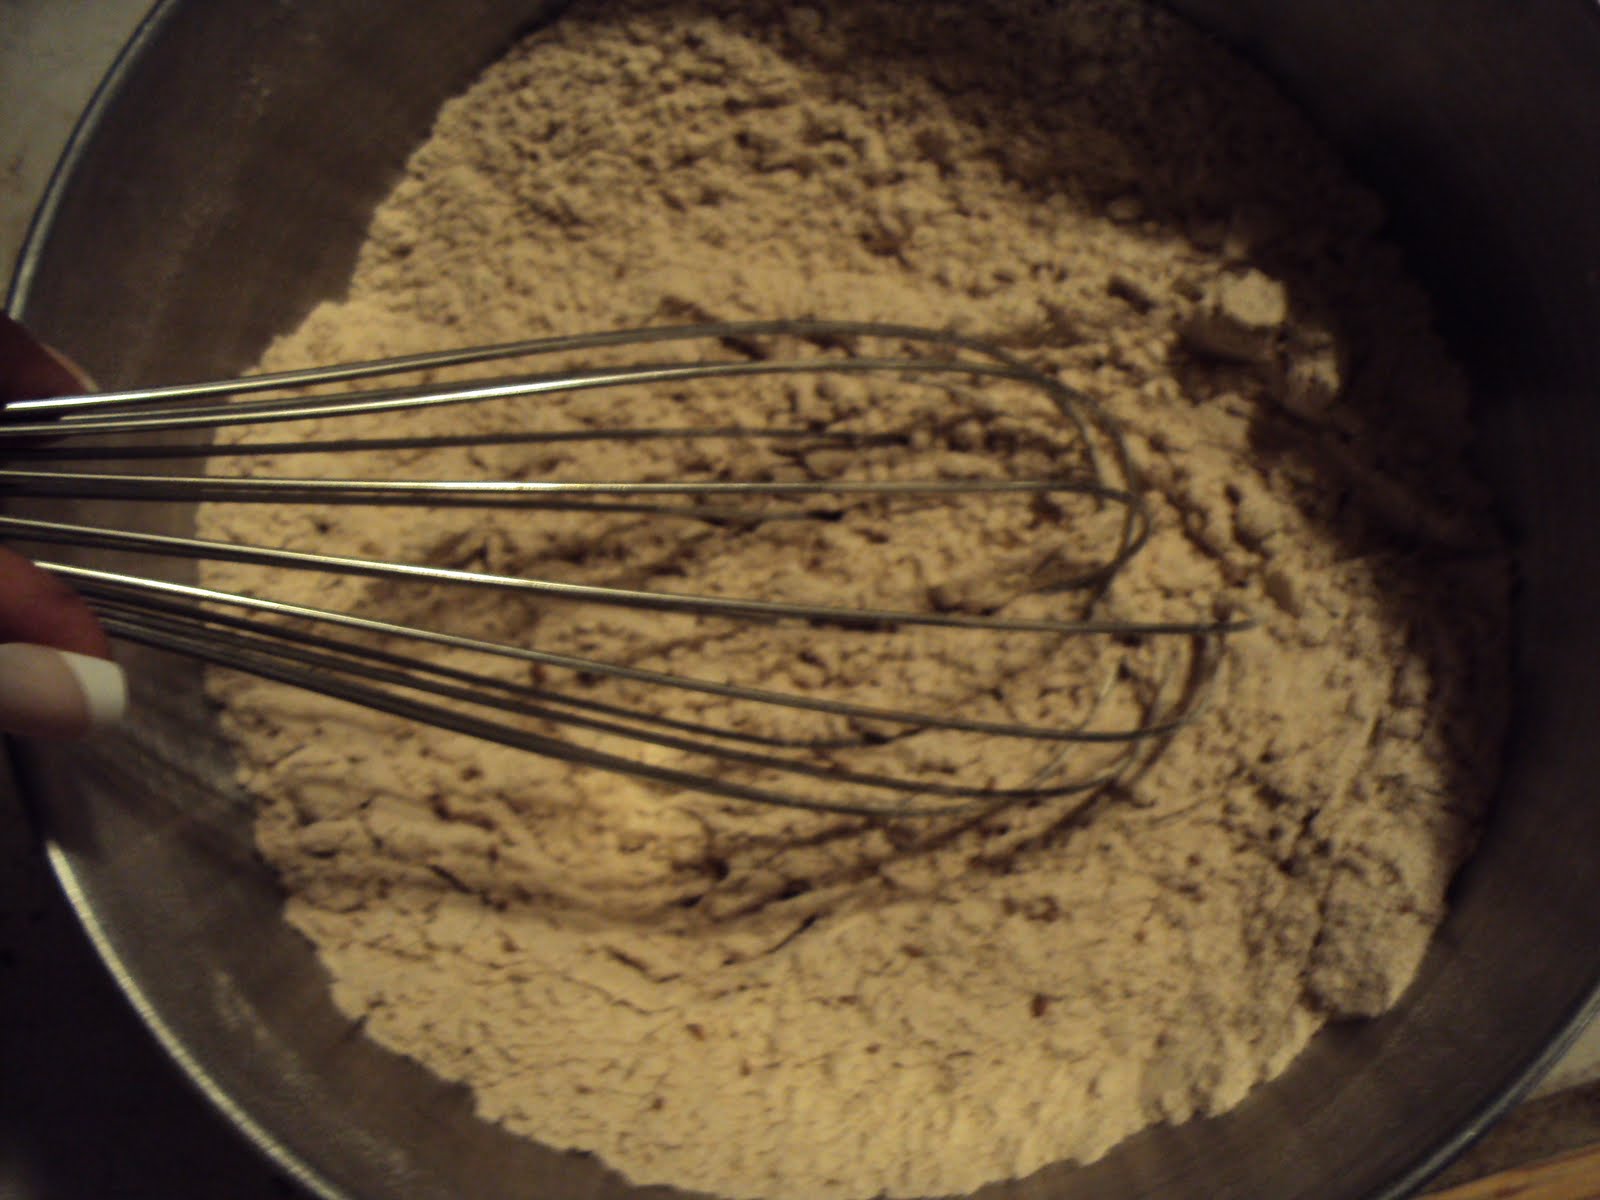
Step 1.) In a large bowl add flour, baking soda, baking powder, salt & cocoa powder. Whisk until well combined. Set Aside.


Step 2.) In a separate large bowl, add sugar and oil. Mix until combined.


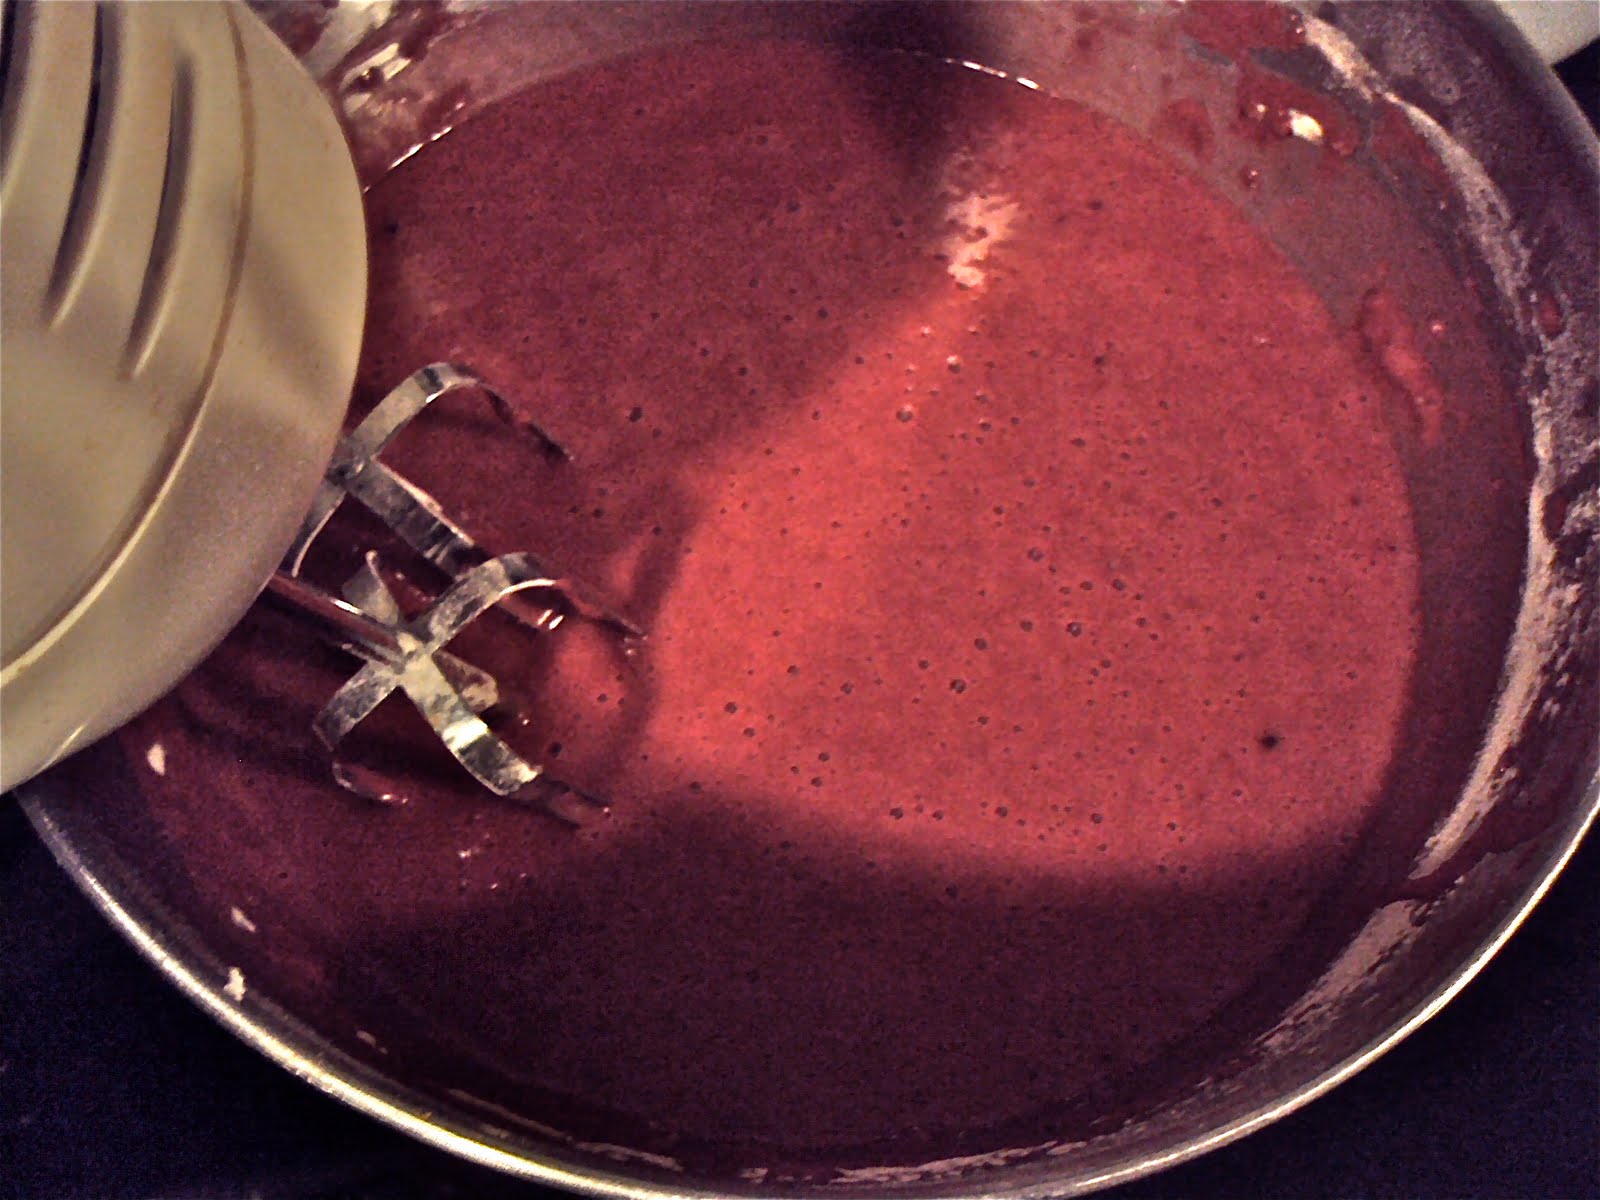
Step 3.) Add in eggs, buttermilk, vanilla & red food coloring. Stir until combined.


Step 4.) Next add in the coffee & vinegar. Stir until combined.


Step 5.) Pour the flour mixture into the sugar mixture a little at a time.  Beating until well combined.


Step 6.) Pour the batter into 2 greased & flour 9 inch round cake pans. Bake for 30-40 minutes or until toothpick inserted into center comes out clean.  Another way to check for doneness is to lightly press the cake on top, if it springs back then it is done, if the dent remains in the cake then it is not done. Do no overbake.


Step 7.) When the cakes are done let them cool in the pan for about 10-15 minutes. Then remove them from the pan and let them finish cooling on a wire rack.


While the cakes are cooling let's make the frosting!!

Step 1.) In a bowl combine cream cheese, milk, vanilla & butter. Mix until combined.


Step 2.) Add in powdered sugar and mix until silky smooth! Oh yall let me tell ya! I made this frosting with only 1 3/4 cup of powdered sugar because I ran out and it was soooo silky smooth! Try it that way and if you prefer a thicker frosting then go ahead and add in that other 1/4 cup of powdered sugar.


Done!! 
Wasn't that easy!! 
Go ahead and eat some frosting. I can never resist!

Time to Frost the Cakes!

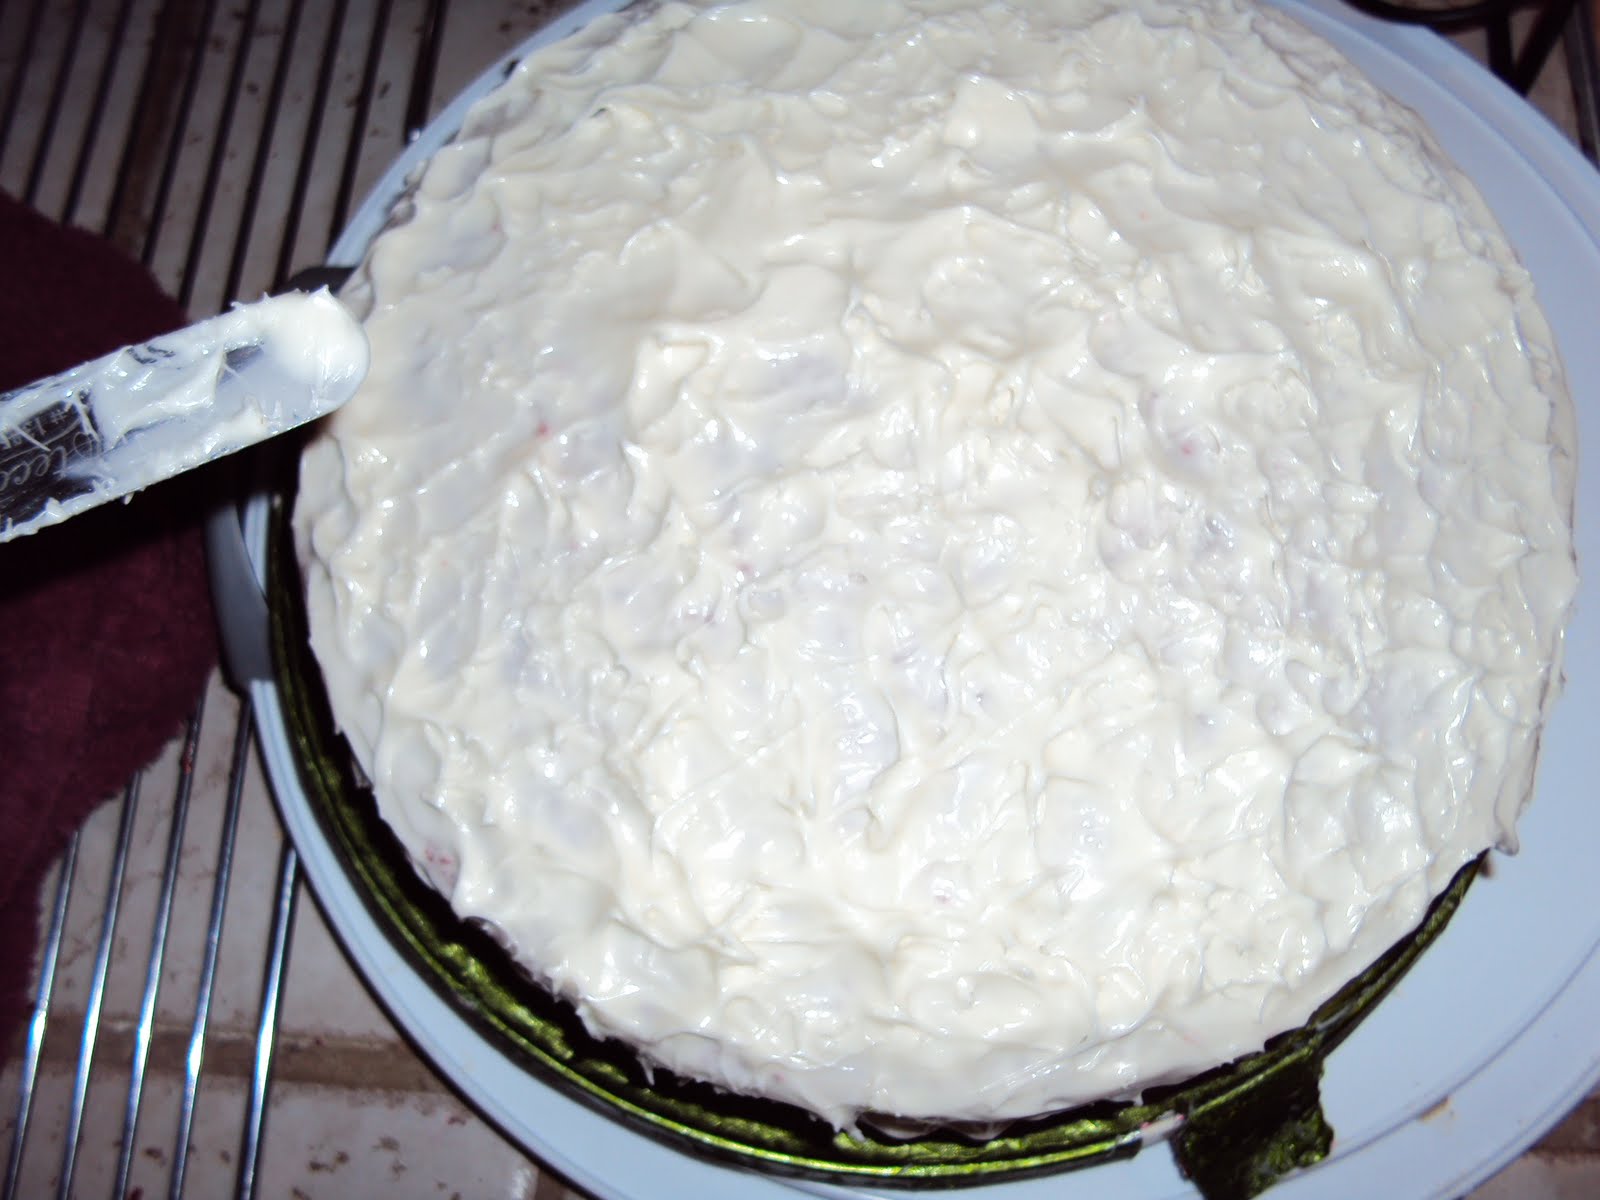
Step 1.) When the cakes are completely cooled, lay the first layer down (flat side down). Be careful, these cakes are very delicate & soft.  Place a huge globe of frosting in the center and work your way out.  I'm using an offset spatula and HIGHLY recommend these for frosting cakes. LOVES IT!


Step 2.) Place the top layer on next (flat side down) and frost the top and sides.


ENJOY!!!


Oh guess what!? I got a new digital camera!! I know you can't tell from the pic quality lol. I'm still learning how to work it. Better pics are coming up for you all!!
Follow RecipesDream